The Challenge of Tile Over Wood
Tile is rigid. Wood is flexible. This fundamental incompatibility makes installing tile over plywood subfloors one of the most common sources of tile failure when done incorrectly, and one of the most reliable installations when done right.
While concrete slab construction dominates in Southern California, many homes (particularly second floors, additions, and raised-foundation houses) have plywood subfloors. Installing tile over these substrates requires specific techniques and materials that differ significantly from concrete installations.
The Critical Concept: Deflection
The single most important factor in tile-over-plywood installations is deflection, how much the floor flexes under load. Industry standards require:
- Natural stone and large format tile: L/720 or less (the floor can deflect no more than 1/720th of the span between supports)
- Standard ceramic and porcelain tile: L/360 or less
What does this mean practically? For a floor joist spanning 12 feet (144 inches):
- L/360 = 0.40 inches maximum deflection under designed load
- L/720 = 0.20 inches maximum deflection
If the floor bounces when you walk on it, it likely exceeds deflection limits and isn't suitable for tile without reinforcement.
Required Subfloor Assembly
The TCNA (Tile Council of North America) requires a specific subfloor assembly for tile over wood framing:
Minimum Subfloor Thickness
- Total thickness minimum: 1-1/8" combined subfloor and underlayment
- Typical assembly: 3/4" plywood subfloor + minimum 1/4" cement backer board (preferably 1/2")
Never Install Tile Directly on Plywood
This cannot be overstated: do not set tile directly on plywood. Wood moves with humidity changes, expanding and contracting seasonally. Thin-set bonded directly to plywood will eventually crack and fail as the wood moves.
You need an intermediate layer:
Intermediate Layer Options
Cement Backer Board
The most common and proven approach. Cement backer board (Hardiebacker, Durock, etc.) provides a stable, moisture-resistant surface for tile.
Installation:
- Apply modified thin-set to the plywood using a 1/4" × 1/4" notched trowel
- Set the backer board into the thin-set
- Fasten with backer board screws every 8" in the field and every 6" at seams, 3/8" from edges
- Tape and thin-set all seams with alkali-resistant mesh tape
- Stagger joints: backer board joints should not align with plywood joints below
Uncoupling Membrane
Products like Schluter DITRA provide an alternative to backer board. These polyethylene membranes:
- Uncouple the tile from the substrate, allowing independent movement
- Provide waterproofing
- Are thinner than backer board (saving floor height)
- Install directly over plywood with modified thin-set
Best for: Situations where floor height is limited, renovations where adding backer board thickness is problematic, and over heated floors.
Fiber-Cement Underlayment
Products like Hardiebacker 1/4" are fiber-cement boards specifically designed as tile underlayment. Thinner than standard backer board but still provide a stable setting surface.
Subfloor Preparation
Before installing the intermediate layer:
Structural Assessment
- Verify deflection limits: Check joist size, spacing, and span to confirm the floor meets L/360 (or L/720 for stone/large format) requirements
- Add blocking or sister joists if deflection exceeds limits
- Ensure 16" on-center joist spacing: 24" spacing rarely meets deflection requirements for tile
Plywood Condition
- Plywood must be structurally sound: no rot, delamination, or water damage
- Exterior-grade or CDX plywood rated for structural use
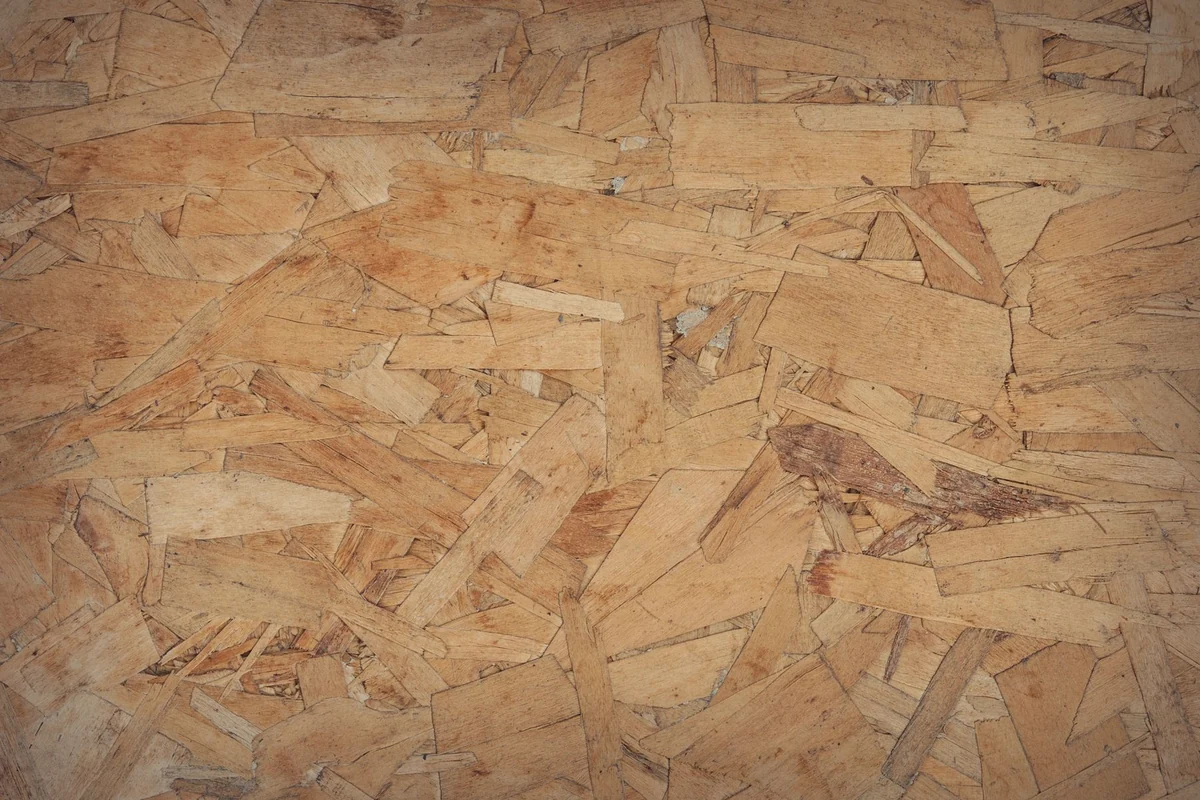
- OSB (oriented strand board) is acceptable but plywood is preferred
- All plywood must be securely fastened to joists with no squeaks or movement
Fastening
- Re-screw the existing plywood to joists with deck screws every 6" along joists
- Fill any gaps or voids with leveling compound
- Sand any high spots
- Ensure the surface is clean and free of debris
Wet Area Considerations
For bathrooms, laundry rooms, and kitchens:
- Waterproofing is essential over the backer board in wet areas
- Apply a liquid or sheet waterproofing membrane over backer board in shower walls and floors
- Uncoupling membranes with integrated waterproofing (like DITRA) simplify the assembly
- Never rely on backer board alone for waterproofing: it is moisture-resistant, not waterproof
Common Mistakes
No Backer Board
Setting tile directly on plywood is the most common DIY mistake and the most common cause of tile failure over wood subfloors. The fix is expensive: tear out and redo.
Wrong Fasteners
Using drywall screws instead of backer board screws. Drywall screws corrode and lose holding power. Use corrosion-resistant backer board screws only.
Untaped Seams
Failing to tape and mortar backer board seams allows movement at joints that can crack grout lines and eventually tiles.
Ignoring Deflection
Installing tile over a bouncy floor without addressing the structural deflection. The tile may survive for months but will eventually crack.
Skipping Waterproofing
In wet areas, assuming backer board provides adequate waterproofing. It doesn't. Water will eventually pass through and damage the plywood below.
Too-Thin Subfloor
Using 1/2" or thinner plywood as the structural subfloor. The minimum is 3/4" exterior-grade plywood over joists at 16" on-center.
The Right Assembly for Common Scenarios
Second-Floor Bathroom
- 3/4" plywood subfloor screwed to joists at 16" o.c.
- Modified thin-set applied to plywood
- 1/2" cement backer board screwed and taped
- Liquid or sheet waterproofing membrane over backer board
- Modified thin-set
- Porcelain tile
Kitchen Over Wood Framing
- 3/4" plywood subfloor screwed to joists at 16" o.c.
- Modified thin-set applied to plywood
- 1/4" or 1/2" cement backer board screwed and taped
- Modified thin-set
- Porcelain or ceramic tile
The Bottom Line
Installing tile over plywood is absolutely viable when done correctly. The key is respecting the structural requirements (deflection limits, minimum subfloor thickness) and always using a proper intermediate layer (backer board or uncoupling membrane) between the plywood and tile.
Skip any of these steps, and you're building a floor that will fail. Follow them, and your tile will perform beautifully for decades.
At Tile San Diego, we evaluate every wood-framed subfloor carefully before beginning any San Diego or Los Angeles tile installation. Contact us for professional tile installation that's built on proper substrate preparation.